
Rust is a fast, modern programming language focused on performance, reliability, and memory safety. It can have a bit of a learning curve, but getting your first Rust program running is surprisingly simple.
This guide will take you from installing Rust to creating and running your first project.
Install Rust
The recommended way to install Rust is with rustup.
macOS and Linux
Open a terminal and run:
curl --proto '=https' --tlsv1.2 -sSf https://sh.rustup.rs | shFollow the prompts to complete the installation.
Windows
Download and run the Rust installer from the official Rust website.
Once installed, verify everything is working:
rustc --versionYou should also have Cargo, Rust’s package manager and build system:
cargo --versionCreate Your First Project
Cargo makes creating a new Rust project easy:
cargo new hello_rustMove into the project:
cd hello_rustYou’ll have a structure similar to:
hello_rust/
├── Cargo.toml
└── src/
    └── main.rs
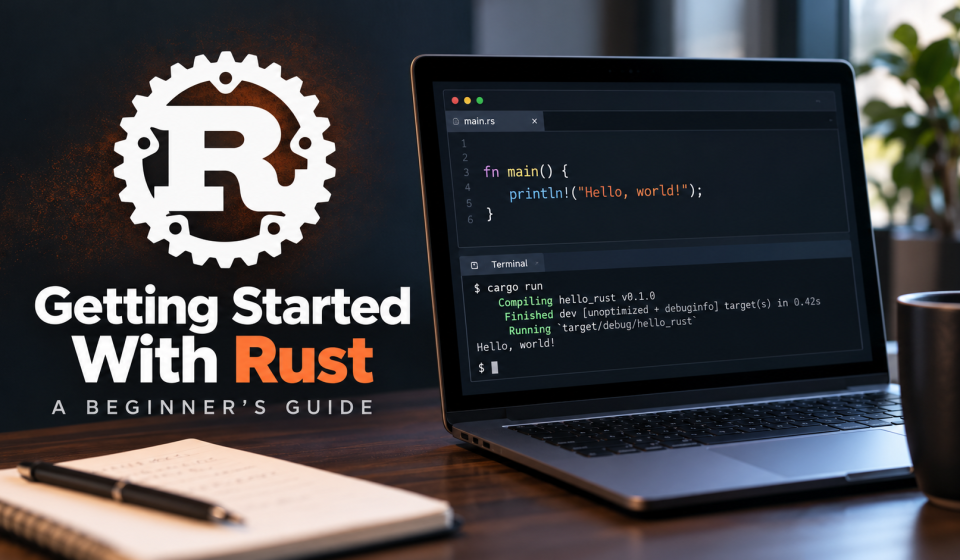
Open src/main.rs and you’ll find:
fn main() {
    println!("Hello, world!");
}
Run it with:
cargo runYou should see:
Hello, world!That’s your first Rust program.
Variables
Variables are created with let:
fn main() {
    let name = "Rust";
    let year = 2015;

    println!("{} was released in {}.", name, year);
}
Rust can usually figure out the variable type automatically.
You can also specify it:
let year: i32 = 2015;One important difference from many languages is that variables are immutable by default.
This won’t work:
let score = 10;
score = 20;
To allow a variable to change, use mut:
let mut score = 10;
score = 20;
Functions
Functions are defined with fn:
fn add(a: i32, b: i32) -> i32 {
    a + b
}

fn main() {
    let result = add(5, 10);

    println!("Result: {}", result);
}
The -> i32 tells Rust that the function returns an i32.
Notice that:
a + bdoesn’t have a semicolon. The final expression in a function can automatically become its return value.
Conditions
Rust’s if statements should look familiar:
let score = 85;

if score >= 70 {
    println!("Passed!");
} else {
    println!("Try again!");
}
Unlike C or C++, parentheses around the condition aren’t required.
Loops
A simple for loop looks like this:
for number in 1..6 {
    println!("{}", number);
}
This prints the numbers 1 through 5.
You can also use while:
let mut number = 0;

while number < 5 {
    println!("{}", number);
    number += 1;
}
A Quick Look at Ownership
One of Rust’s most important concepts is ownership.
Rust manages memory without needing a garbage collector. Part of how it accomplishes this is by keeping track of which variable owns a value.
For example:
let message = String::from("Hello");

let new_message = message;
Ownership of the string moves to new_message.
That means trying to use message afterward will result in a compiler error.
Rust also allows values to be borrowed using references:
fn print_message(message: &String) {
    println!("{}", message);
}

fn main() {
    let message = String::from("Hello");

    print_message(&message);

    println!("{}", message);
}
The & creates a reference, allowing the function to use the value without taking ownership.
Ownership and borrowing can take some time to understand. Don’t worry about mastering them immediately.
Useful Cargo Commands
Here are a few commands you’ll use frequently:
cargo new my_projectCreate a new project.
cargo runBuild and run your project.
cargo checkQuickly check your code for compilation errors.
cargo buildBuild your project.
cargo build --releaseCreate an optimized release build.
cargo fmtAutomatically format your code.
What Should You Learn Next?
Once you have the basics down, start exploring:
- Structs
- Enums
OptionandResultmatch- Vectors and collections
- Ownership and borrowing
- Error handling
- Traits
- Modules
Most importantly, start building something.
A calculator, small command-line tool, file organizer, guessing game, or to-do application can teach you more than simply reading about the language.
Rust has some unusual concepts compared with many other programming languages, but you don’t need to understand everything before getting started.
Install Rust, create a project, and start experimenting.
The compiler will probably yell at you along the way.
That’s part of learning Rust.